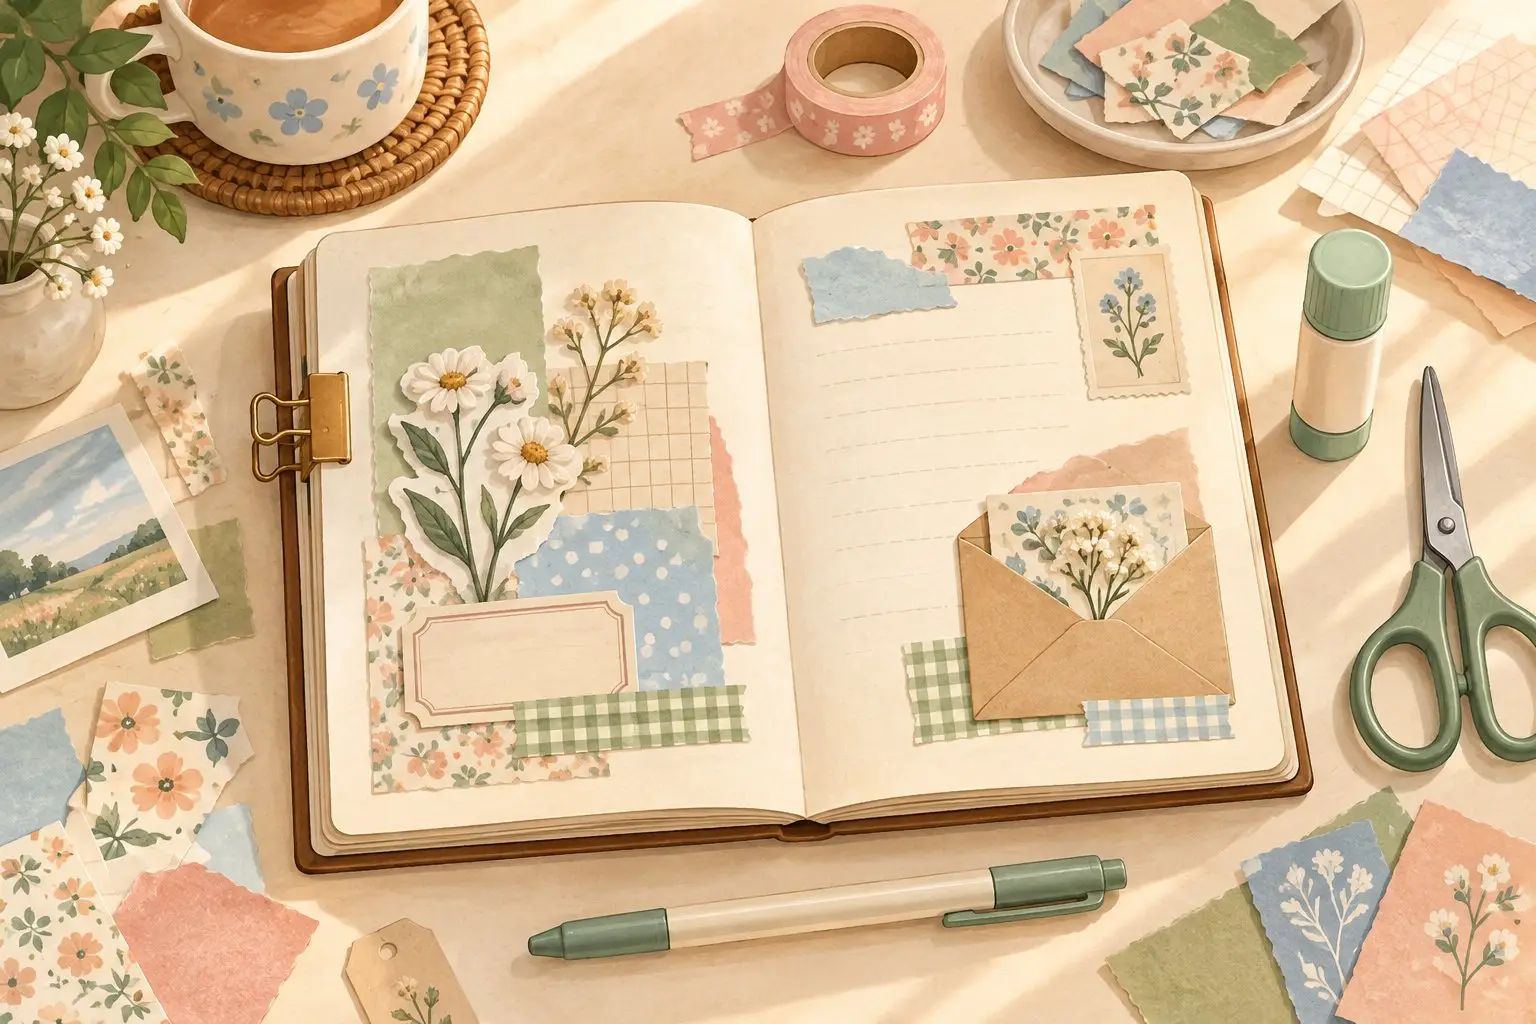
Junk Journal Supplies for Beginners: The Starter List. A beginner shopping list of junk journal supplies, from base journals and ephemera packs to glue, washi and stamps, and when a kit makes sense.. Type: Buying guide. Category: Journaling. Tags: junk-journaling, collage, ephemera, beginner-journaling, buying-guide, cluster-journaling-stationery.

Buying guide

Junk Journal Supplies for Beginners: The Starter List

Our recommendation

Start a junk journal with a book or folded pages, a handful of paper scraps, scissors, one adhesive and a pen you already own. Buy only the missing essentials. For a new compact collage base, consider the Strathmore Mixed Media Visual Journal; choose UHU stic for lightweight paper backs or Tombow MONO Permanent for a dry adhesive line on suitable paper and cards. You do not need both adhesives, a giant ephemera pack or a complete kit to make your first spread.

Choose by use case

Product comparison

ProductBest forWatch outPrice & shop
Strathmore Mixed Media Visual Journal, 5.5 x 8 inches (opens Amazon in a new tab)Strathmore · 460-15 Mixed Media Visual Journal
Compact collage baseResearch-based review
Small mixed-media spreads with room for captionsThe compact page can feel crowded beside large postcards or several keepsakes. Wire binding does not make the book expandable; keep layers modest and avoid building a mound in the same place on every spread.
UHU stic Glue Stick, White, 21 g Single (opens Amazon in a new tab)UHU · stic solvent-free 21 g blister
Paper-layer adhesiveResearch-based review
Lightweight paper backs and ordinary paper collageThis is not dry adhesive tape. We have not tested wrinkle resistance or long-term edge adhesion on fragile, coated or recycled scraps. Try the actual paper combination before choosing it for a finished spread.
Tombow MONO Permanent Adhesive Applicator 62106 (opens Amazon in a new tab)Tombow · 62106 MONO Permanent Adhesive Applicator
Dry adhesive alternativeResearch-based review
Paper and card pieces after the layout is decidedPermanent placement is unforgiving. A runner can also be awkward on tiny or delicate cutouts; support them on scrap and test first. The applicator needs compatible replacement cartridges once its adhesive is used up.

How we researched this guide

Research date
Hands-on testing
None of the 3 picks — all are research-based

This is a research-based supply guide, not a hands-on ranking. We checked manufacturer guidance and the exact Amazon.com listings on October 16, 2026. The three selected purchases cover a base book and two alternative adhesive formats; they are not a bundle to buy together. We compared documented paper format, binding, adhesive type, supported materials and the limitations of a minimal starter setup. Amazon seller offers were visible for all three exact variants. We did not test paper buckling, bond strength, drying time, aging or binding capacity. Optional decoration and complete kits are discussed through selection criteria rather than unverified purchase picks.

What we compared

  • Each purchase must solve a specific beginner collage problem, with a usable exact Amazon.com listing and matching product image.
  • A new base should have documented paper and binding details; an existing book remains a valid no-purchase option.
  • Compare a glue stick with a dry permanent runner by application and placement needs, rather than an invented strength ranking.
  • Keep decorations optional and consider page space, supply storage and duplicate purchases.

What we did not test

  • No physical samples, adhesive aging tests, paper-flatness measurements or comparative handling tests.
  • No assurance that a finished mixed-material journal is archival, washable or suitable for every ink.

Product details and drawbacks

Compact collage baseResearch-based review

Strathmore Mixed Media Visual Journal, 5.5 x 8 inches (opens Amazon in a new tab)

Strathmore · 460-15 Mixed Media Visual Journal

A blank wire-bound journal for collage and other media.

Why it fits this guide

Strathmore specifies 190 gsm, 100% cotton, acid-free vellum paper in this 34-sheet format. Its Visual Journal binding opens through 360 degrees. Those documented features make it a useful starting point when you want to combine paper layers with drawing, rather than buy a planner with preprinted boxes.

Honest drawback

The compact page can feel crowded beside large postcards or several keepsakes. Wire binding does not make the book expandable; keep layers modest and avoid building a mound in the same place on every spread.

Specifications

  • 460-15 Mixed Media Visual Journal
  • 5.5 x 8 inches per manufacturer
  • 34 sheets / 68 pages
  • 190 gsm cotton paper; wire bound

Best forSmall mixed-media spreads with room for captions

Pros

  • Blank layout
  • Maker lists collage among intended uses

Cons

  • Limited space for large ephemera
  • Fixed binding
Check price on Amazon (opens Amazon in a new tab)
Paper-layer adhesiveResearch-based review

UHU stic Glue Stick, White, 21 g Single (opens Amazon in a new tab)

UHU · stic solvent-free 21 g blister

A single 21 g white glue stick with a screw cap.

Why it fits this guide

UHU lists paper and cardboard as suitable materials and directs light-pressure application followed by joining the pieces immediately. This format is straightforward when you want to cover the back of a cut paper shape without laying down separate strips of tape. The selected listing is one stick, rather than a classroom-size pack.

Honest drawback

This is not dry adhesive tape. We have not tested wrinkle resistance or long-term edge adhesion on fragile, coated or recycled scraps. Try the actual paper combination before choosing it for a finished spread.

Specifications

  • UHU stic, white
  • 21 g single blister
  • Solvent-free glue stick
  • Screw-on cap

Best forLightweight paper backs and ordinary paper collage

Pros

  • Simple application format
  • A single stick avoids overbuying

Cons

  • Paper compatibility needs a trial
  • No measured flatness or longevity claim
Check price on Amazon (opens Amazon in a new tab)
Dry adhesive alternativeResearch-based review

Tombow MONO Permanent Adhesive Applicator 62106 (opens Amazon in a new tab)

Tombow · 62106 MONO Permanent Adhesive Applicator

A refillable permanent tape runner for a dry adhesive line.

Why it fits this guide

The MONO Permanent format avoids spreading liquid glue. Tombow lists paper, photos and cardstock among its uses and documents the compatible snap-in refill. Choose it when a controlled line of adhesive is more convenient than coating a paper back.

Honest drawback

Permanent placement is unforgiving. A runner can also be awkward on tiny or delicate cutouts; support them on scrap and test first. The applicator needs compatible replacement cartridges once its adhesive is used up.

Specifications

  • 62106 permanent applicator, not a refill-only purchase
  • 1/3 inch x 472 inches
  • Refillable
  • Maker describes acid-free adhesive and PAT approval

Best forPaper and card pieces after the layout is decided

Pros

  • Dry application
  • Refillable holder

Cons

  • Not a removable adhesive
  • Refills are an ongoing supply
Check price on Amazon (opens Amazon in a new tab)

How to choose

  • Choose the base around your largest keepsake and expected layering, not the cover color alone.
  • Start with one adhesive; select its format for the paper and how you like to arrange a page.
  • Separate background sheets, paper die-cuts, stickers and rub-ons when comparing a kit's contents.
  • Plan one spread before buying decoration so you know what is actually missing.

Common mistakes

  • Buying a decorative paper pack labeled a kit and assuming a journal or adhesive is included.
  • Counting every tiny sticker as equal to a usable background sheet.
  • Using a permanent adhesive before arranging the whole layout.
  • Stacking bulky elements in the same spot on every page or forcing an overfilled book closed.
  • Treating one acid-free component as a preservation guarantee for the entire journal.

The minimum junk journal kit

The most useful first shopping list is the one with things crossed off because you already own them. A junk journal brings scraps, pictures, writing and keepsakes together in a book. It does not need to look antique, match a theme or start with a purchased kit.

For your first page, gather:

  • A base — an existing notebook, a blank journal or a few folded sheets.
  • Paper to attach — an envelope, a clean wrapper, an offcut and a picture are enough.
  • One adhesive suited to the paper.
  • Scissors and a pen you can use comfortably.
  • A spare sheet for cutting and gluing away from the finished page.

Washi, stamps, rub-ons and special scissors add effects; they do not make the journal more legitimate. If you want calendars, trackers and a writing setup instead, our beginner journaling-supplies guide covers that broader starting point. Here, the buying decisions are about collage, attachment and physical layers.

Choose a base journal before buying decorations

A beautiful cover tells you little about whether a book will suit the materials you want to put inside it. Start by laying your largest likely keepsake on an open page. Leave space around the fold and somewhere to write a caption. If a postcard occupies the whole page, decide whether you like that or need a larger base.

Base Choose it when Main compromise
An existing notebook You want to try a few paper-only spreads before spending Its paper and binding may limit wet work and bulky layers
A blank mixed-media journal You want collage alongside drawing and occasional compatible media Paper specifications do not establish unlimited layer capacity
A refillable ring or disc format You expect to move pages or add pockets Rings and discs interrupt the working area and need compatible pages
Folded sheets in a simple cover Making the book is part of the enjoyment You take responsibility for the binding and how much it can hold

The Strathmore choice above is a small fixed-binding base, rather than a claim that one notebook is best for every style. Its manufacturer gives an exact 5.5 x 8-inch format; some Amazon selector wording differs, so use the model number and specification when comparing sizes.

Paper weight is useful information, but it is not a complete performance score. A higher gsm figure alone does not tell you how an ink will behave, how a glue will interact with a scrap or how many thick decorations the spine can accommodate. Try your intended combination on a spare page.

Handmade-style covers, deckled edges and brown paper are optional aesthetics. Check inside a notebook for enough usable page space and a binding suited to your plans before choosing it for the vintage look.

Ephemera and paper packs — buy variety you can use

Ephemera means the small paper pieces you collect or use in a composition: tickets, labels, tags, notes, cards and similar fragments. Craft packs often contain reproductions with a vintage appearance. Those can be fun, but they are not necessarily old, rare or meaningful keepsakes.

Think in three roles:

  1. Backgrounds give you enough paper to cover part of a page.
  2. Focal pieces give the spread something to look at, such as a picture or a ticket.
  3. Writing spots leave room for the date, a caption or a short memory.

A pack full of tiny labels may fill the third role well while giving you no backgrounds. A stack of large patterned sheets may require plenty of cutting before it gives you a focal piece. Neither is automatically better; the useful pack fills the gap in your own scraps.

Before buying, inspect the actual contents and scale beside your page. Distinguish paper die-cuts that require glue from adhesive-backed stickers. Look for stated paper weight if it matters to your project; leave it unknown if the listing does not provide it. Do not infer acid-free paper, archival ink or a particular texture from muted colors or a kraft-paper appearance.

Start with one theme or color family if choosing materials feels overwhelming. You might pair soft blue packaging, cream paper and your own flower drawing. Cute journaling can be quiet and personal without requiring every item to have a character printed on it.

Adhesives that help keep pages tidy

Choose adhesive by the materials and application, rather than expecting a universally wrinkle-free glue. Fragile tissue, coated packaging, an ordinary paper ticket and a thick card are different jobs.

Adhesive format Useful starting job What to watch
Glue stick Coating lightweight paper backs Coverage at edges, fragile scraps and drying behavior
Dry permanent runner Applying a line to suitable paper and card Immediate placement and how the applicator treats small pieces
Liquid craft adhesive A project that specifically needs its supported materials or precision tip Excess moisture, squeeze-out and the maker’s drying directions
Removable attachment or a pocket Keeping an item accessible Whether it can fall out or be damaged during removal

UHU stic and Tombow MONO Permanent are alternative starting purchases. Buy the format that fits the next page; there is no need to assemble an adhesive collection first. A paper-glue label is not evidence that the same product is right for every fabric, plastic or heavy embellishment.

For a cleaner attachment:

  1. Arrange the whole spread without adhesive and take a picture if the arrangement is complicated.
  2. Put the piece face down on clean scrap paper.
  3. Apply the amount and pattern appropriate to that adhesive and material.
  4. Attach it without dragging wet residue across the page.
  5. Follow the product’s drying directions before closing the book, and check for exposed sticky edges.

Test before committing a sentimental original. A copy in the journal lets you enjoy the image without making the original part of an adhesive experiment. A pocket is another option when you want to take the piece out again.

Tombow’s acid-free and photographic-test claims apply to the specified adhesive. They do not certify the finished mixture of papers, inks, tapes and found objects as archival. Likewise, a product’s washability claim does not mean your completed journal can get wet.

Washi tape, stickers, rub-ons and stamps

Treat decoration as a response to a page you want to make. A useful first addition might be one roll for narrow borders, one sticker sheet with designs small enough for the book, or a stamp motif you expect to repeat.

Washi tape can frame a picture or add a strip of color. Do not assume it can carry a heavy card, make a permanent hinge or lift cleanly from every paper. Try it on a spare piece, especially if you want to reposition it. Our washi-tape guide compares formats when you know the widths and styles you need.

Stickers are a quick way to add a focal point. Check backing and finish: transparent material lets the background show through, while an opaque piece can cover an area. Compare motif size with your writing space. See the journaling-sticker guide for a wider selection.

Rub-ons transfer a design instead of adding an ordinary peel-and-stick label. They need an appropriate surface and the maker’s application process. Practice on spare paper before putting a transfer across a lumpy collage; do not assume it can be peeled up and moved.

Stamps and ink pads make sense when you enjoy repeating dates, labels or motifs. Clear stamps may need a separate block; a stamp set is not necessarily a ready-to-use kit. Match the ink to the paper and planned media. Try a stamp on a scrap of the actual sheet, check the reverse and let it dry before layering over it. An ink labeled waterproof after drying may still behave differently on coated material.

Scissors, punches and corner rounders

Use ordinary scissors for the first session. Small precision scissors become useful when cutting around detailed pictures is an activity you enjoy, rather than a task you want a kit to eliminate.

Deckle-edge scissors add an irregular decorative edge; they are not necessary for every scrap. Try tearing paper by hand first if a rough edge is the goal. A simple straight cut may suit a clean kawaii composition better.

Punches are worthwhile when you repeatedly need the same shape. Check their supported paper thickness and the size of the resulting cutout. A large shape that dominates your page is not made more useful by a large tool discount.

Corner rounders are finishing tools for cards and tags. Confirm the radius and material limit; do not assume one can punch several sheets, thick chipboard or a finished stack of glued layers. These tools also take up more storage room than a pair of scissors.

Keep sharp tools appropriate to the person using them and follow their instructions. This is a hobby-supply guide, not a verified age-graded children’s kit list.

Junk journal kits vs building your own

Buy a coordinated kit when you are starting without supplies and its contents fit the kind of pages you want. Build your own when you already have a notebook and tools, want to use personal keepsakes, or dislike several major parts of the offered theme.

Read a kit listing as an inventory, not a headline piece count:

Check A useful question
Base Is a journal included, and are its dimensions and ruling suitable?
Backgrounds Are there sheets large enough for the intended pages?
Small pieces Are they paper, stickers or rub-ons, and how much repetition is there?
Attachment Is adhesive included or is it an additional purchase?
Tools Are the advertised tools actually in the selected variant?
Storage Can the box hold the leftovers after opening?

Do not count 100 tiny stickers as equivalent to 100 background sheets. Also distinguish a journal-making kit, which supplies materials to assemble a book, from a decorating kit, which may contain no base book at all.

For complete-set shopping, our existing beginner journaling-kit guide includes collage-oriented formats alongside planning kits. This page’s three purchase options are individual foundations and adhesive alternatives, not a claim that any one of them is a complete junk journal starter kit.

To compare spending, list only the pieces you expect to use. Then account for missing adhesive, a separate journal, refills and a place to store leftovers. A large bundle can be poor value for you even when every advertised piece is present. There is no minimum budget you must reach before beginning.

Free and found materials

An envelope can become a pocket, a packaging offcut can become a tag and a scrap of wrapping paper can become a background. A journal built around a café visit might use your own photo, a clean paper sleeve, a written memory and a simple hand-drawn cup. Buying a vintage ticket pack would not make that memory more authentic.

Keep materials clean and dry, and remove personal details from packaging you intend to photograph or share. Skip dirty, oily or deteriorating pieces that you do not want touching the rest of the book. Flatten an offcut before deciding whether it suits the page, and check whether its coating accepts your adhesive and pen.

If you use printables, choose your own artwork or a source that permits the intended use. Printing involves paper and ink even when the design is free. Try one sheet before printing a whole pack, and do not assume home-printed ink will stay put under wet glue or other media.

For an irreplaceable photograph or a fading receipt, use a readable copy in the collage and keep the original separately. Decorative journaling and long-term preservation are different goals; you can enjoy the first without promising the second.

Make one spread before buying more

Try this small project to learn what your supplies actually need to do:

  1. Pick one memory or one color theme.
  2. Choose a background scrap, a focal picture and a small caption area.
  3. Lay everything down without glue. Leave space at the binding and enough of the page visible to keep it readable.
  4. Attach the background and focal piece with the adhesive you have tried on scraps.
  5. Write a date or a few sentences. Add one decorative detail only if you want it.
  6. Once the adhesive is ready, close the journal gently and check where the layers add bulk.

If cutting was enjoyable, a future precision tool may make sense. If arranging a matching palette was the difficult part, a small coordinated paper pack may help. If you mostly wanted to write, leave more blank space next time. Let that experience set the next shopping list.

Store supplies so the next page is easy to start

Begin with one envelope for loose paper and a small container for the pen, scissors and adhesive. Sort scraps by working size — backgrounds, medium pieces and tiny accents — if that makes them easier to use. Keep especially meaningful pieces separate from practice offcuts.

Store paper flat and dry. Keep adhesives capped or covered as directed, with glue sticks away from loose cutouts that can become stuck to exposed residue. Keep a small working selection within reach rather than emptying every pack onto the desk.

Choose a physical limit before collecting more: one box or one shallow drawer, for example. When it fills, make pages from what is inside before buying another pack. Spread thick elements around the journal instead of piling them in the same corner, and stop adding layers when the book no longer closes comfortably. A closure strap is not a remedy for an overfilled binding.

The wider journaling and stationery hub can help you expand into other supplies later. For now, a finished first spread will tell you more than a larger unopened kit.

FAQ

What supplies do I need to start a junk journal?

Start with a book or folded paper, a few scraps or keepsakes, scissors, one adhesive and a pen. Add a scrap sheet to protect the table while gluing. Washi, stickers, stamps, decorative scissors and bought ephemera can wait until you know which effect you want.

What is the best journal for junk journaling?

Use a base that fits the largest items you want to keep and the amount of layering you plan. An existing notebook suits a first experiment; a blank mixed-media journal suits collage with drawing; a refillable binder makes sense when adding and moving pages matters. The Strathmore Visual Journal is a compact fixed-binding option, not an expandable scrapbook.

Are junk journal kits worth it?

A kit can be worthwhile when you need its base book and most of its coordinated materials. Check whether it includes a real journal, adhesive and usable background papers, rather than mostly tiny stickers. If you already own the essentials or want to preserve personal keepsakes, a small set of separates can avoid duplication.

What glue is best for junk journals?

Match the adhesive to the paper and placement. A glue stick suits coating lightweight paper backs; a dry permanent runner suits suitable cards and paper after you have decided the layout. Neither is a universal answer for coated scraps, fabric or bulky embellishments. Test on spare materials and use copies of irreplaceable originals.

Can I junk journal on a budget?

Yes. Reuse a notebook, envelopes, clean packaging, wrapping-paper offcuts and your own printed pictures. Start with a pen and scissors you own and buy only a missing adhesive. Keep one envelope of scraps and make several pages before adding decorative tools or a large pack.

Final recommendation

Make a first spread with the book, papers, scissors and pen you already have. If the base is unsuitable, the Strathmore Visual Journal offers a documented compact mixed-media format. Add one adhesive suited to your paper, then use found ephemera before buying a coordinated pack. A complete kit earns its place only when its actual contents replace supplies you need.

Corrections

Spotted an error or outdated detail? Read how we handle corrections.